
In this series I detail the creation of a digital product built specifically for the Unity Asset Store. I am writing this in hopes of providing a resource to those who may be exploring the idea of or are already working on building game development tools. Check back here periodically for updates and don't forget to sign up to receive e-mail notifications of new posts. I will be providing overviews of the process as it happens.
Part 3: Modeling the Tube
If were going to build a tool based around Nixie tubes we're gonna need a Nixie Tube. To model the Nixie I will use Blender because, well, it's free. If your not familiar with Blender, start by heading over to Blender.org to download it then check out the video series here -> https://www.youtube.com/watch?v=TPrnSACiTJ4. Blender Guru does a good job of walking through the basics and for the most part that is what we will need to get our Nixie Tube started, the basics.

Now, I have always struggled with recreating real world items from memory. Not really sure why, don't think my brain twists that way. I am looking for the end result to realistic appear realistic when rendered by Unity and with realistic renders, the devil is in the details.
For example, in the case of the Nixie tube the glass tapers up to a point at the top. Getting the taper right is going to be important in getting our tube looking right. Luckily, Blender has this nifty feature where you can import a photo which appears in your viewport. Using this feature with and orthographic camera view allows us to "trace" our model from the photo and end up with a pretty convincing end result.
To do this start with an empty Blender canvas and make sure your 3D cursor is located in the middle of the grid (Shift-S -> 3D Cursor to World Origin if its not). Click the X on the axis indicator on the top right of the viewport or press Numpad 3. This will align your view down the X (red) axis with an orthographic viewpoint. Finally click Add -> Image -> Background and navigate and select the photo you would like to use as your "inspiration". This should automatically snap it to the 3D cursor, aligning it with the X axis. End result will look something like this:
Now that we have our photo laid in we will begin building our glass tube. Start with a cylinder (Add -> Mesh -> Cylinder). Scale and adjust the cylinder till you get roughly the shape of the glass tube without the tapered top.

To taper the top, go into edit mode and select only the top face of the cylinder. Then re-align your view with the X axis and perform a series of repeated extrude (e) and scale (s) movements to mimic the shape until you reach the top.

Now this is a hollow glass tube so we need it to have an empty interior volume with somewhat thick edges. To do this simply delete the bottom face, then apply a solidify modifier. I set my solidify thickness to .05 but you can mess around with the settings until your happy. When your done, don't forget to apply the modifier.
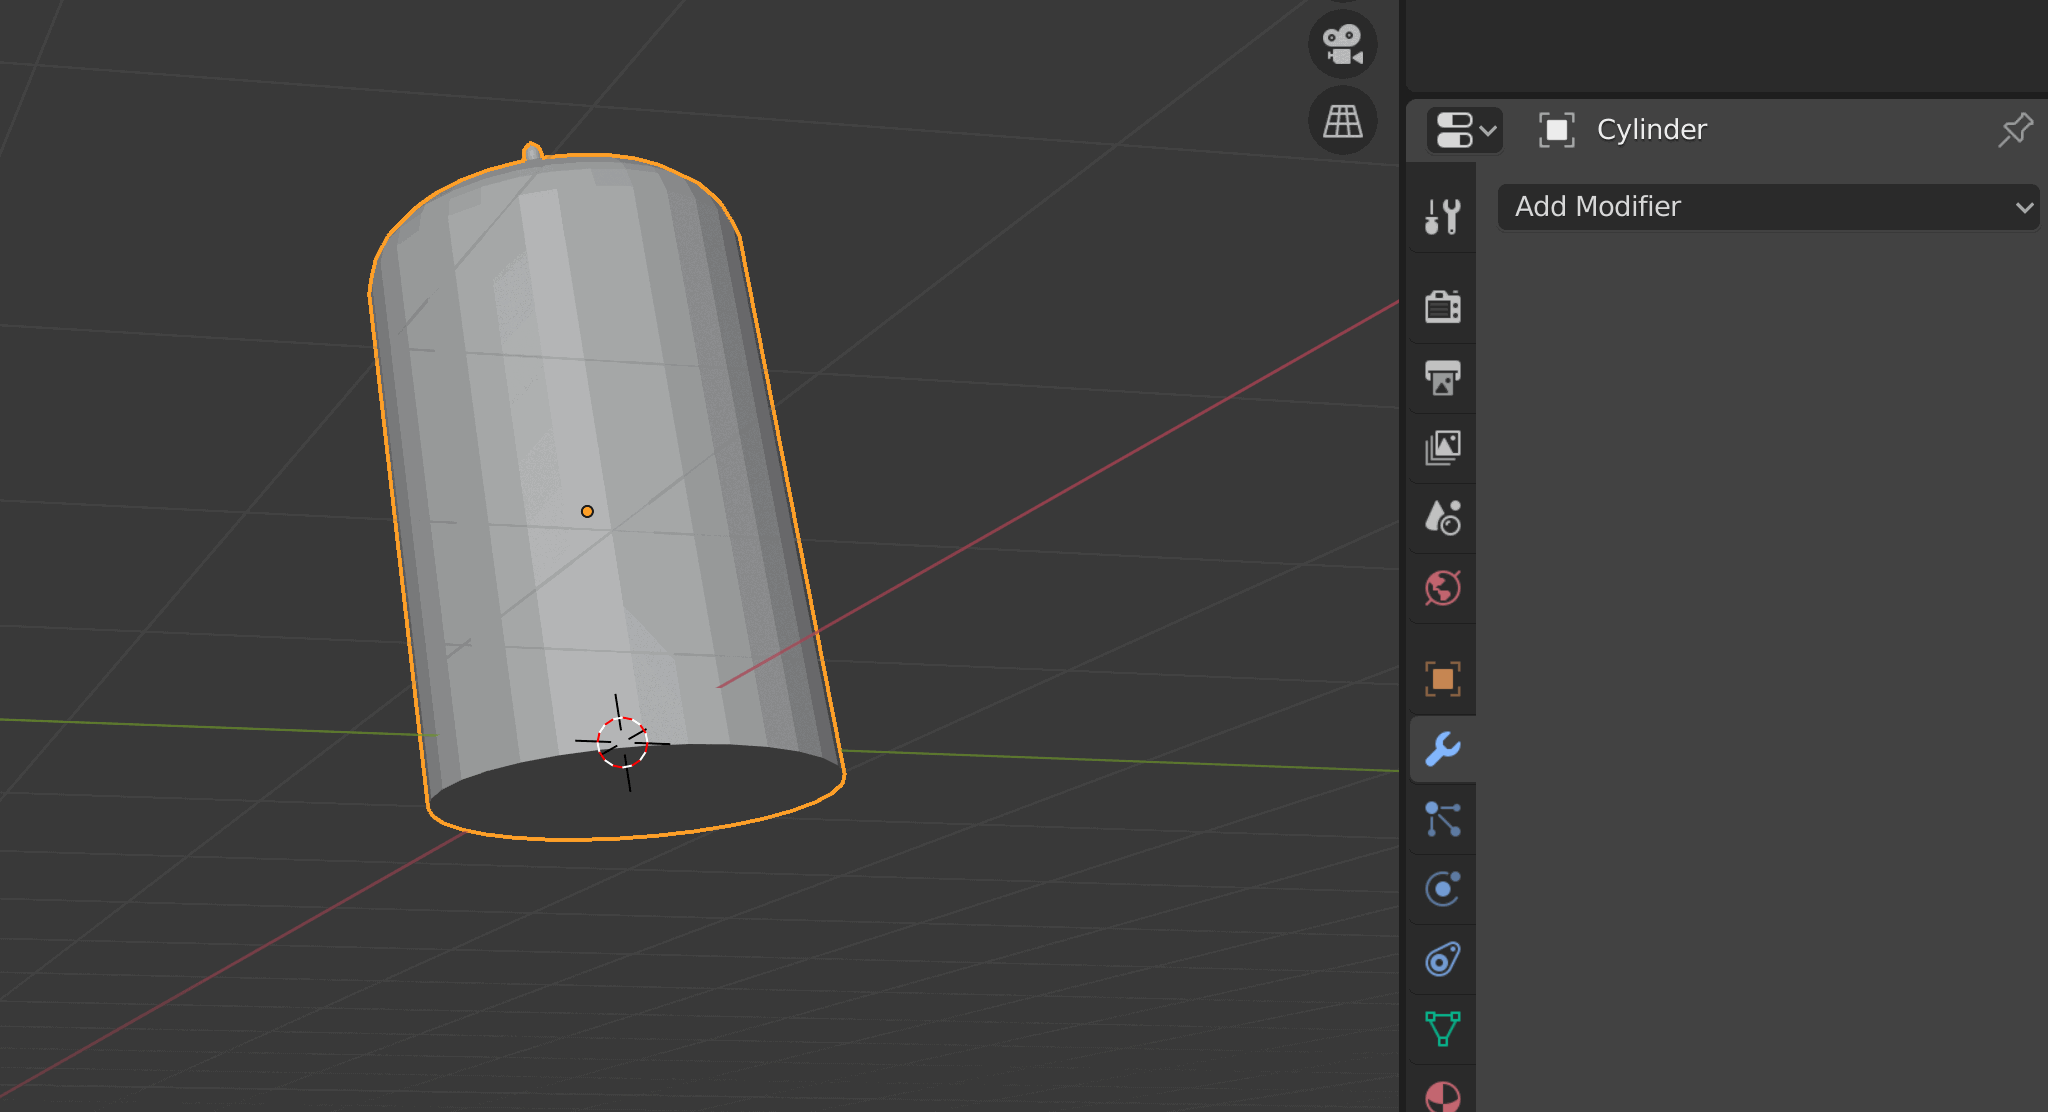
To create the base we will select the outer ring on the bottom of the tube and create a face from it. To applying applying materials in Unity simple I want the base to be a separate mesh from the glass tube so separate I using P -> Selection to separate the newly created face. Next, give it some height using an extrude, then widen it using Extrude Along Normals. I finished it off with a curved bezel on the upper edge (W -> B). Once your done select the whole base and use X -> Limited Dissolve to get rid of any extra vertices created by the extrusions.
Before we move onto creating the interior components now is a good time to map the UVs for our newly created meshes. This is a fairly simple mesh and in Unity we are going to be applying simple textures so no need for any precise unwrapping, just Smart UV Project function to unwrap it. Do this for both meshes.

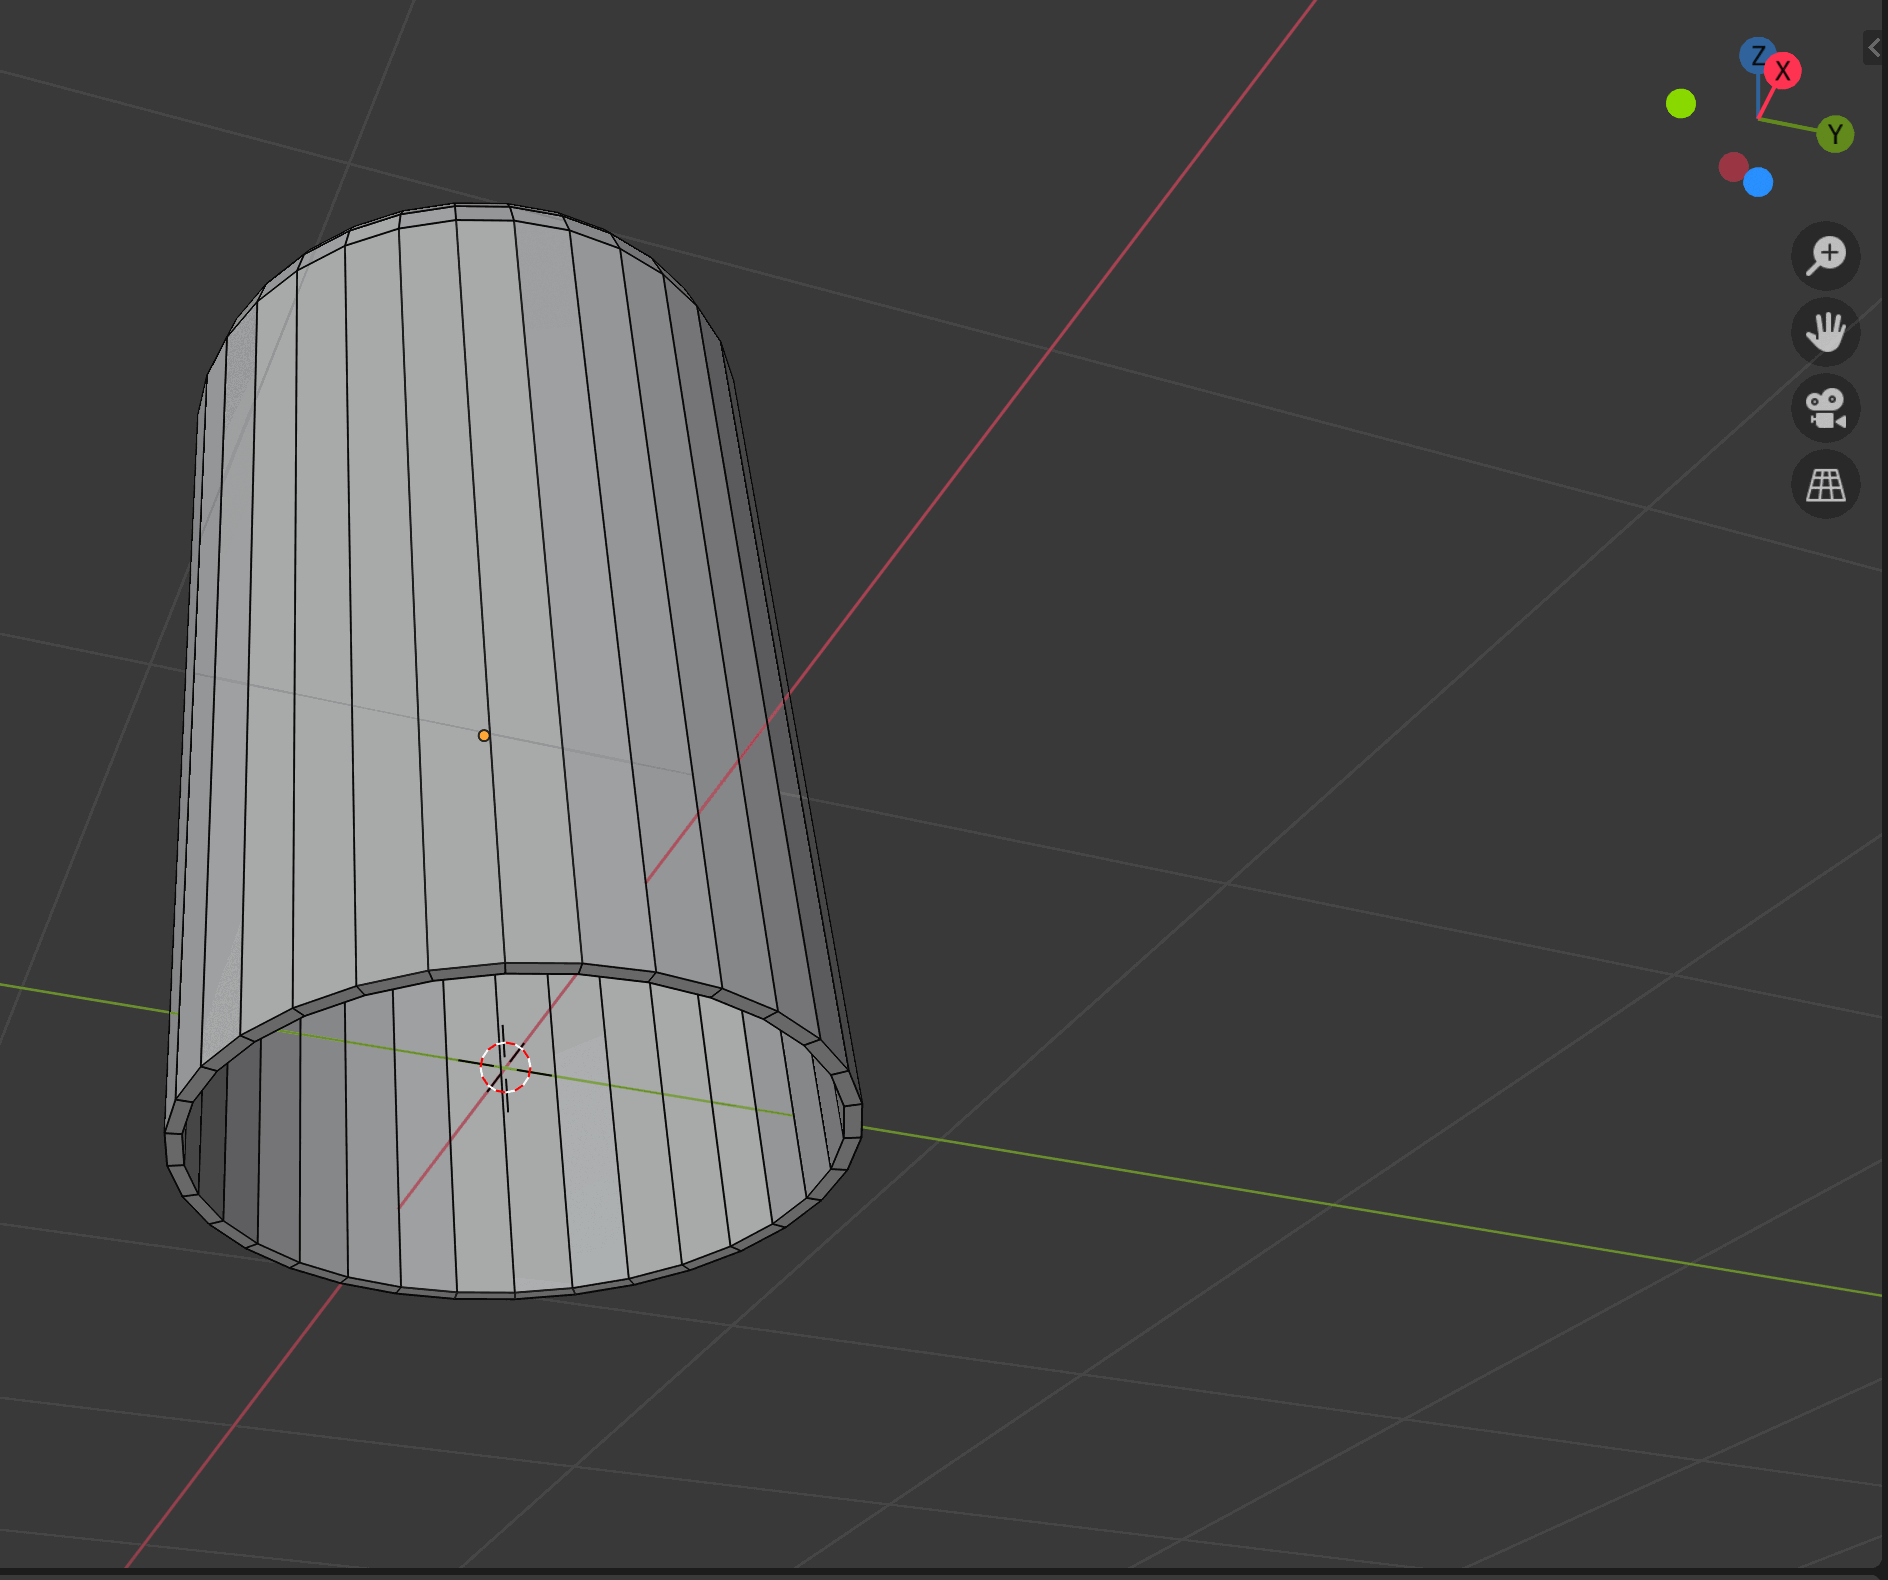
Before we get too much further, lets get rid of those ugly faceted edges by setting our shading to smooth. This shading will be picked up by Unity so it looks like smooth glass. To do this simple select all (a) and click Object -> Shade Smooth

This completes our tube. Save the file and head over to Part 4 where we will create the interior components.